> ## Documentation Index
> Fetch the complete documentation index at: /llms.txt
> Use this file to discover all available pages before exploring further.
# Add effects to images and video
> Give a photo or video a look (ASCII, halftone, tape damage, CRT, paint) or fix and grade its color, by asking or by hand. The original file never changes.
An effect changes how a picture looks, not what it is. The file stays untouched, so you can soften the effect,
animate it or take it off later.
*Eighteen effects, sixteen color looks and four LUT paths, each on one media layer and all still editable.*
## Ask for a look
Say what it should feel like; you don't need the effect names:
```text
Make the product clip feel like a clean two-ink editorial print. Keep the label readable.
The interview looks too dark and slightly cold. Keep skin natural, no filtered look.
Pixelate the email address in the screen recording from 0:04 to 0:07.
```
Works the same in the Studio app and with your own agent. To copy a look from a video you like, add it as a
reference and say "grade it like this".
## The effects
* **Essentials:** Blur, Pixelate, Bloom. Hide something, pull focus, make highlights glow.
* **Retro and glitch:** Tape Damage, Film Artifacts, Scanlines, CRT Curvature, Channel Separation, Digital Glitch,
Chroma Softening. Old tape, old film, old monitors, broken signals, with real tracking wobble and color bleed.
* **Print:** Halftone, Two-Ink Print, Ordered Dither, Mono Screen.
* **Art:** ASCII (eight styles), Engraving, Crosshatch, Kuwahara Paint.
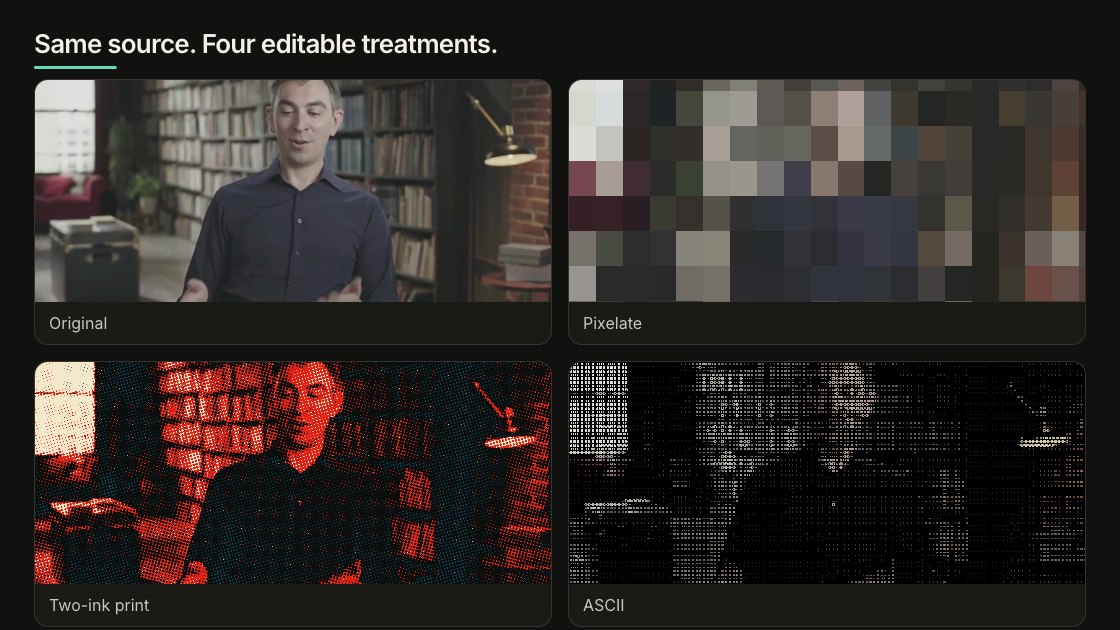
One source, four finishes: original, pixelated, two-ink print, and ASCII.
Commit to a strong look or leave it off: a half-strength ASCII reads as a mistake. For grain and vignette, use the
color controls below; for HUDs, light leaks and flashes, use a [Catalog overlay](/catalog.md).
## Fix and grade the color
Correct first (exposure, white balance, contrast, saturation), then style. No look rescues blown highlights or the
wrong shot.
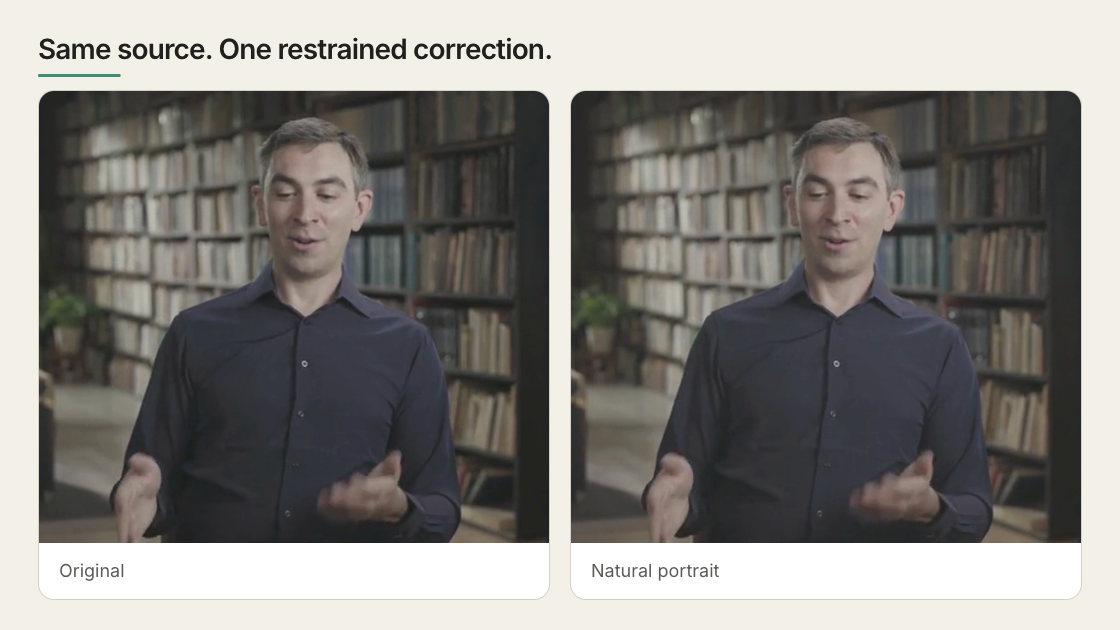
The same source before and after a restrained natural-portrait grade.
## Adjust it by hand
In the [browser editor](/studio/index.md), select an image or video and open **Effects** or **Grade** in the Inspector.
**Grade** starts with thirteen presets, each previewed on your own frame, and a **Strength** slider. Hold the compare
button to flash back to the original, and scrub a few places in moving footage: a grade that flatters one frame can
ruin the next.
| Control | Use it for |
| - | - |
| Preset and strength | Pick a whole look, then dial it back |
| Exposure, contrast, highlights, shadows, whites, blacks | Brightness and contrast, overall and per tonal range |
| Warmth, tint, vibrance, saturation | Take out a color cast, or push color further |
| Color wheels | Tint shadows, midtones and highlights separately |
| RGB curves | Redraw the brightness ramp — whole image, or red, green and blue one at a time |
| Hue curves | Pick one hue and move only it: shift, saturate or brighten |
| HSL selections | Key a band of hue, saturation and brightness, then correct only those pixels. Up to four, in order |
| Grain and vignette | Add texture, or darken the edges to pull the eye in |
| Custom LUT | Load a `.cube` file that maps every color to another |
The scopes measure the picture so you aren't judging by your screen: the **histogram** shows lost detail at either
end, the **waveform** shows where across the frame, the **RGB parade** names a color cast, and the **vectorscope**
puts skin tones on one known line.
**Copy grade to** reuses a grade on other clips, as a starting point; the same numbers rarely suit two shots.
## LUTs
A LUT (a `.cube` file, up to 65 points per side) maps every color to another, blended in at the strength you set.
Use creative Rec.709 LUTs. HyperFrames doesn't convert camera LOG footage first, so a LOG clip needs its camera's own
transform or comes out wrong.
## Limits
* An effect or grade covers the whole layer. It doesn't follow a face or an object: to treat part of the frame, put
that part on its own layer.
* It applies to images, video and canvas, not to text or HTML.
* Standard video only. HDR sources preview in SDR and the effects don't carry into true HDR.
* Blur, Bloom and Kuwahara Paint are slow; several stacked on big layers slow preview and render.
* Keep media inside the project. A file on another server needs the right CORS headers and can vanish before render.
> [accordion] For agents and code: the commands and the stored format
>
> List what exists, measure a source, then apply. `--dry-run` shows the change, `--clear` removes it.
>
> ```bash
> npx hyperframes media-treatment --capabilities --json
> npx hyperframes media-treatment --selector '#interview' --analyze --json
> npx hyperframes media-treatment --selector '#product' --grading '{"preset":"two-ink-print"}' --apply --json
> ```
>
> Compare several looks on one frame (up to sixteen, the original first):
>
> ```bash
> npx hyperframes grade-compare --for frame.png --grades grades.json
> ```
>
> Phone photos keep their displayed orientation and aspect ratio in the sheet; the source image stays unchanged.
>
> Everything lands in `data-color-grading`, in named sections: `adjust` for corrections, `details` for grain and
> vignette, `effects` for treatments. A flat object such as `{"exposure":0.15}` renders nothing, and
> `npx hyperframes lint` says which section it belongs in.
>
> ```html
>
> ```
>
> The full format is in the [HTML schema](/reference/html-schema.md#color-grading-and-media-effects) and the
> [color grading reference](/reference/color-grading.md).
## Related topics
* [Use images and video](/guides/video-components.md)
* [Color, effects, 3D and generated art: the words to use](/prompting/color-grading.md)
* [Browse ready-made effects in the Catalog](/catalog.md)